|
|

|
Assembling
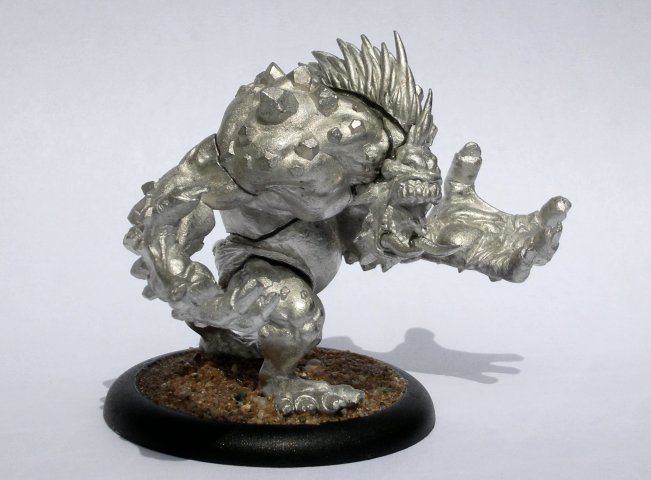
this model was a challenge. Its many pieces fit
together rather poorly, and I didn’t have the patience to correct that
problem with file work. Instead, I applied liberal amounts of two-part
epoxy and other adhesives. For extra strength, I also pinned many of
the various parts together with a combination of metal rods and a
bamboo toothpick. I secured everything with tiny rubber bands while the
epoxy slowly cured in my warm garage.
The tusks posed an especially difficult problem. After thinking about
it for a while, I rigged a contraption to hold them in place while the
epoxy set. This consisted of a pocket tool with one blade extended
upward to support two small clamps, which allowed me to adjust the
height as needed.
The whole assembly process took about two weeks, most of which were
spent
waiting for the epoxy to cure. During this period, I also glued sand to
the model’s base for texture.
|

|
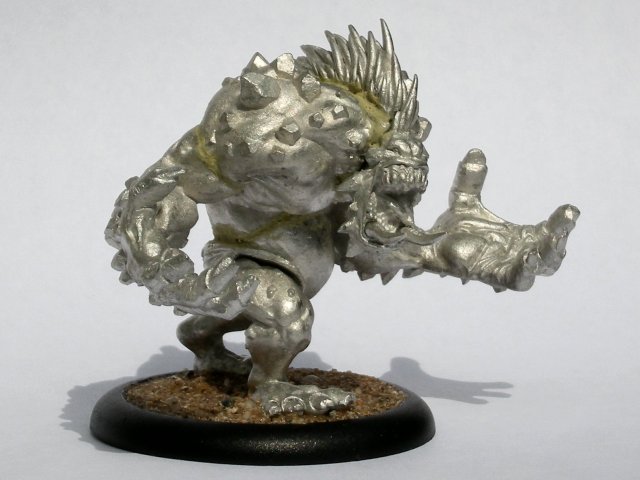
Since my
uninspiring assembly job left a number of obvious gaps between the
model’s components, I next set about concealing these flaws. I mixed up
an unnecessarily large batch of epoxy putty, got it nice and wet, and
carefully daubed it into the seams.
While the putty dried, I also tweaked one of the tusks into better
alignment. In other words, I knocked his teeth loose and then glued
them back into place.
|

|
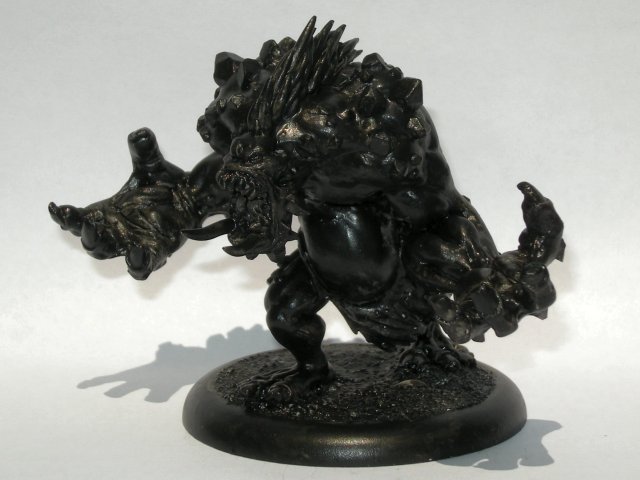
The putty
contracted as it dried, so while the gaps were sealed, evidence of them
remained. I began to work on this problem with my first coat of gray
primer. I applied the paint more liberally where unwanted gullies and
rough spots remained. By the time I finished the black under coat,
these were significantly muted. The model was starting to blend
together.
|
Let’s
compare my version to the brilliant Privateer Press studio model.
|
 |

|
|


