|
|

|

|

|

|

|
|
Copyright
© A.D. 2007–08
by M. D. Van
Norman.
|
|

Here is
the rifle as I received it. Note the worn finish and rotted sling.
|
The first step in the
refurbishment process was to remove all that cosmoline. I was more
interested in functionality than collectibility, so I was fairly
aggressive at this, employing a combination of heat, soap and water,
heat, oven cleaner, and more heat to get the stuff off of the metal and
out of the wood. When finished, my rifle and all its flaws were laid
bare.
|
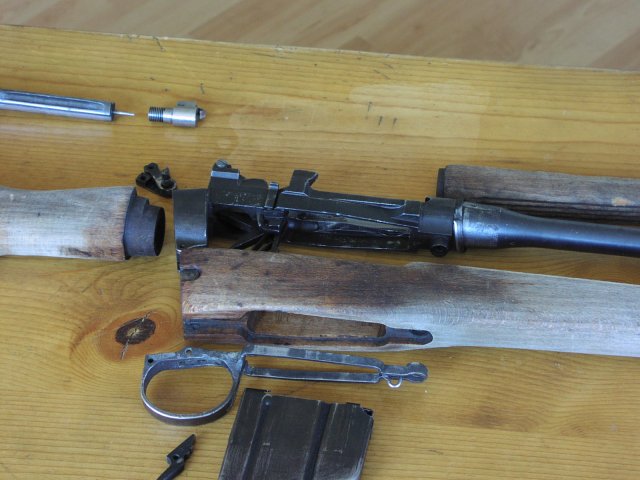
The disassembled rifle shows the worn
finish on the metal parts. Note the lingering oil stains in the
wood.
|
Though the cosmoline had
done its job fairly well, protecting the rifle through several decades
of storage, there was still a bit of rust for me to deal with. I
dispatched some stable, black rust on the barrel with a supermarket pot
scrubber, a type of coarse steel wool.1
I removed the patches of dangerous, red rust that were present in a few
areas with Birchwood Casey
Blue & Rust Remover.
I also discovered a number of wartime or field expediencies on this
rifle. The rear band had been replaced with a bent strip of steel
crudely bolted into place.2
The
two-position rear sight was a wartime substitute for an adjustable
micrometer aperture. The safety mechanism was also a short-lived
variant that, ironically, had eventually been deemed unsafe.3 I ordered proper
replacements for all these parts and for several worn screws from Springfield Sporters.
While waiting for my replacement parts to arrive, I began to refinish
the metal. In several spots, the original oil-blackened finish had worn
off or been removed along with that incipient rust I had tackled
earlier. A few applications of Birchwood
Casey Super Blue did an
acceptable job of it, though I learned the importance of following the
instructions, particularly the part about allowing the treated parts to
cure in a coat of oil.
|
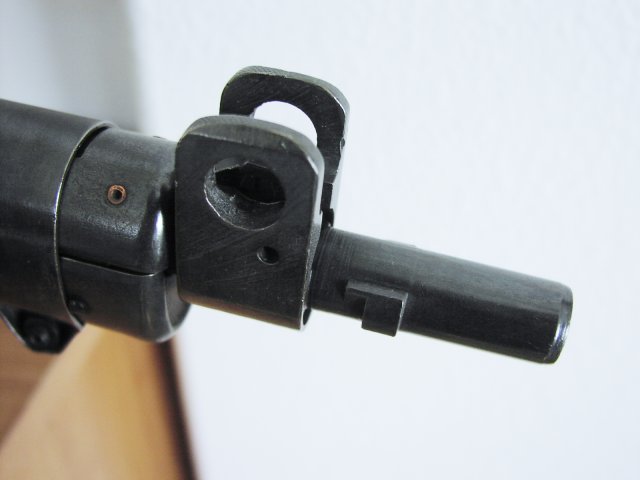
The
exposed muzzle had very noticeable
rust. I cleaned it and the associated parts and re-blued them.
|
When the stock finally
stopped oozing cosmoline, I went to work on the wood. After my
aggressive degreasing and a little fine sanding, the pieces of walnut
were looking pale and dry. I began with an application of Olympic
walnut stain, but I think that was a mistake in retrospect. I then
rubbed in about four coats of boiled linseed oil, which I now suspect
would have left the stock looking just fine all on its own.
|
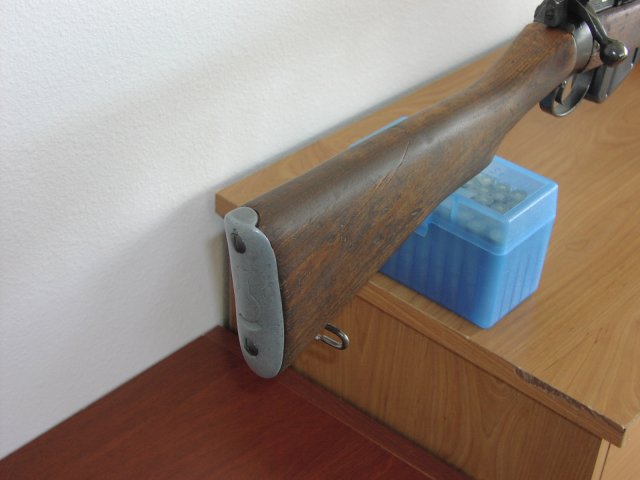
Staining the stock was probably a mistake.
The color looks a bit unnatural.
|
I had refinished the wood
and metal acceptably, and my replacement parts were in hand, so it was
finally time to reassemble my refurbished Lee-Enfield rifle. I was
fairly proud of myself until I tested the action on a magazine loaded
with dummy cartridges and found that the rifle wouldn’t reliably
extract or eject the rounds. Another order to Springfield Sporters
brought me replacements for the ejector screw and extractor group.
|
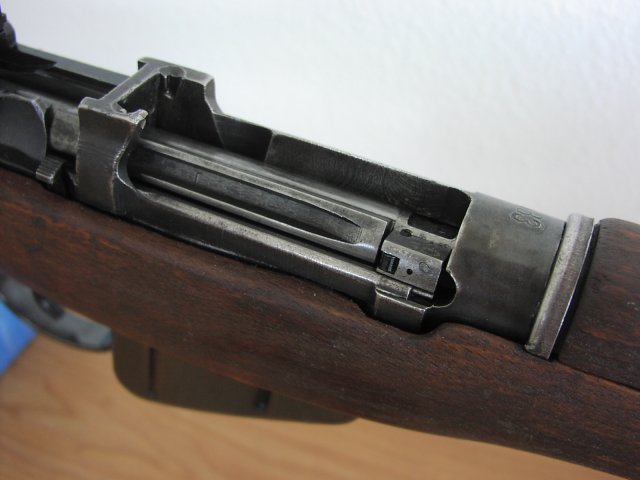
The rifle’s action would not cycle
reliably until I replaced the extractor group and the ejector screw.
|
Once the new parts were in
place, the action cycled properly. At last, my № 4 Mk. I rifle was
ready for
service once again, over 60 years since it had been hastily built to
fight the Axis Powers. I topped off this achievement by knocking out
the wartime two-position rear sight and installing the adjustable
micrometer version that the designers at the Royal Small Arms Factory,
Enfield,
had originally intended for it.
|
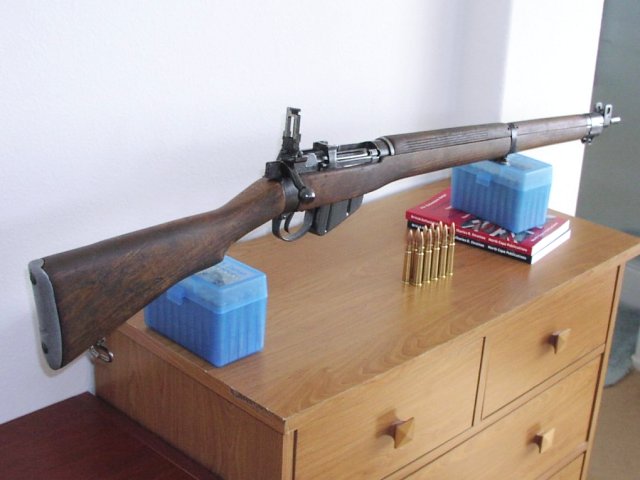
Here is
my completed № 4 Mk. I rifle. I refinished the wood and metal and
replaced worn or inferior wartime parts.
|
I learned a lot during
this project. I didn’t do everything as well as I could have, and I
made a few mistakes along the way, but the end results were still
satisfactory. I will apply the confidence and experience that I gained
from this project to future refurbishment efforts.
In late A.D. 2008, I finally got my Lee-Enfield
up to the range at Burro Canyon in the San Gabriel Mountains. It
functioned flawlessly … for a few rounds at least. I was working on
two-inch groups4
when a range officer discovered that my Sellier & Bellot ammunition
had steel-core bullets. Due to the high fire danger, I had to stop
shooting before I had even emptied my first magazine.
|
1
|
Fine
steel wool is often recommended for this purpose but will leave behind
a fuzz of steel shavings that is difficult to remove. I discovered that
stainless-steel pot scrubbers work just as well for removing rust
(without damaging any underlying bluing) and avoid this messy side
effect.
|
2
|
I
didn’t realize this at first, so I actually cleaned the rust off this
jury-rigged replacement and blued it before catching my mistake and
ordering a proper replacement. It now serves as a makeshift rust gauge
on my workbench.
|
3
|
Charles
R. Stratton, British Enfield Rifles,
Volume 2, 2nd Edition, Revised, Lee-Enfield No. 4 and No. 5 Rifles
(Tustin: North Cape Publications, 2003), p. 45.
|
4
|
The
range was only 50 yards, so my groups weren’t terribly impressive for a
rifle, but this was also my first time shooting a center-fire rifle.
|
|
|


